Wednesday, November 23, 2011

Autumn Chicken Roulade

Have you ever made a roulade?  It sounds fancy, but it's really just a French word for a "Roll-Up."  You've probably had a pumpkin roll, which is a form of roulade.

I made a Chicken Roulade recipe from Clean Eating Magazine.  It was delicious.

I made two versions.  One with butternut squash for me; the other with sweet potato for my honey, who doesn't like squash.
I'd like to tell you that mine (with squash) was infinitely better than his (with sweet potato), but I didn't taste the sweet potato version and I have no idea if it was better or not.

So, first you chop up the squash or sweet potato and some shallots into small pieces.  Then you saute them into they are close to soft, but not quite soft.  You are going to bake them a little bit, so you don't want them too mushy.

While they saute, pound out some chicken breasts until they are thin.  I used 4 pieces of chicken so that we would have some left for lunch the following day.
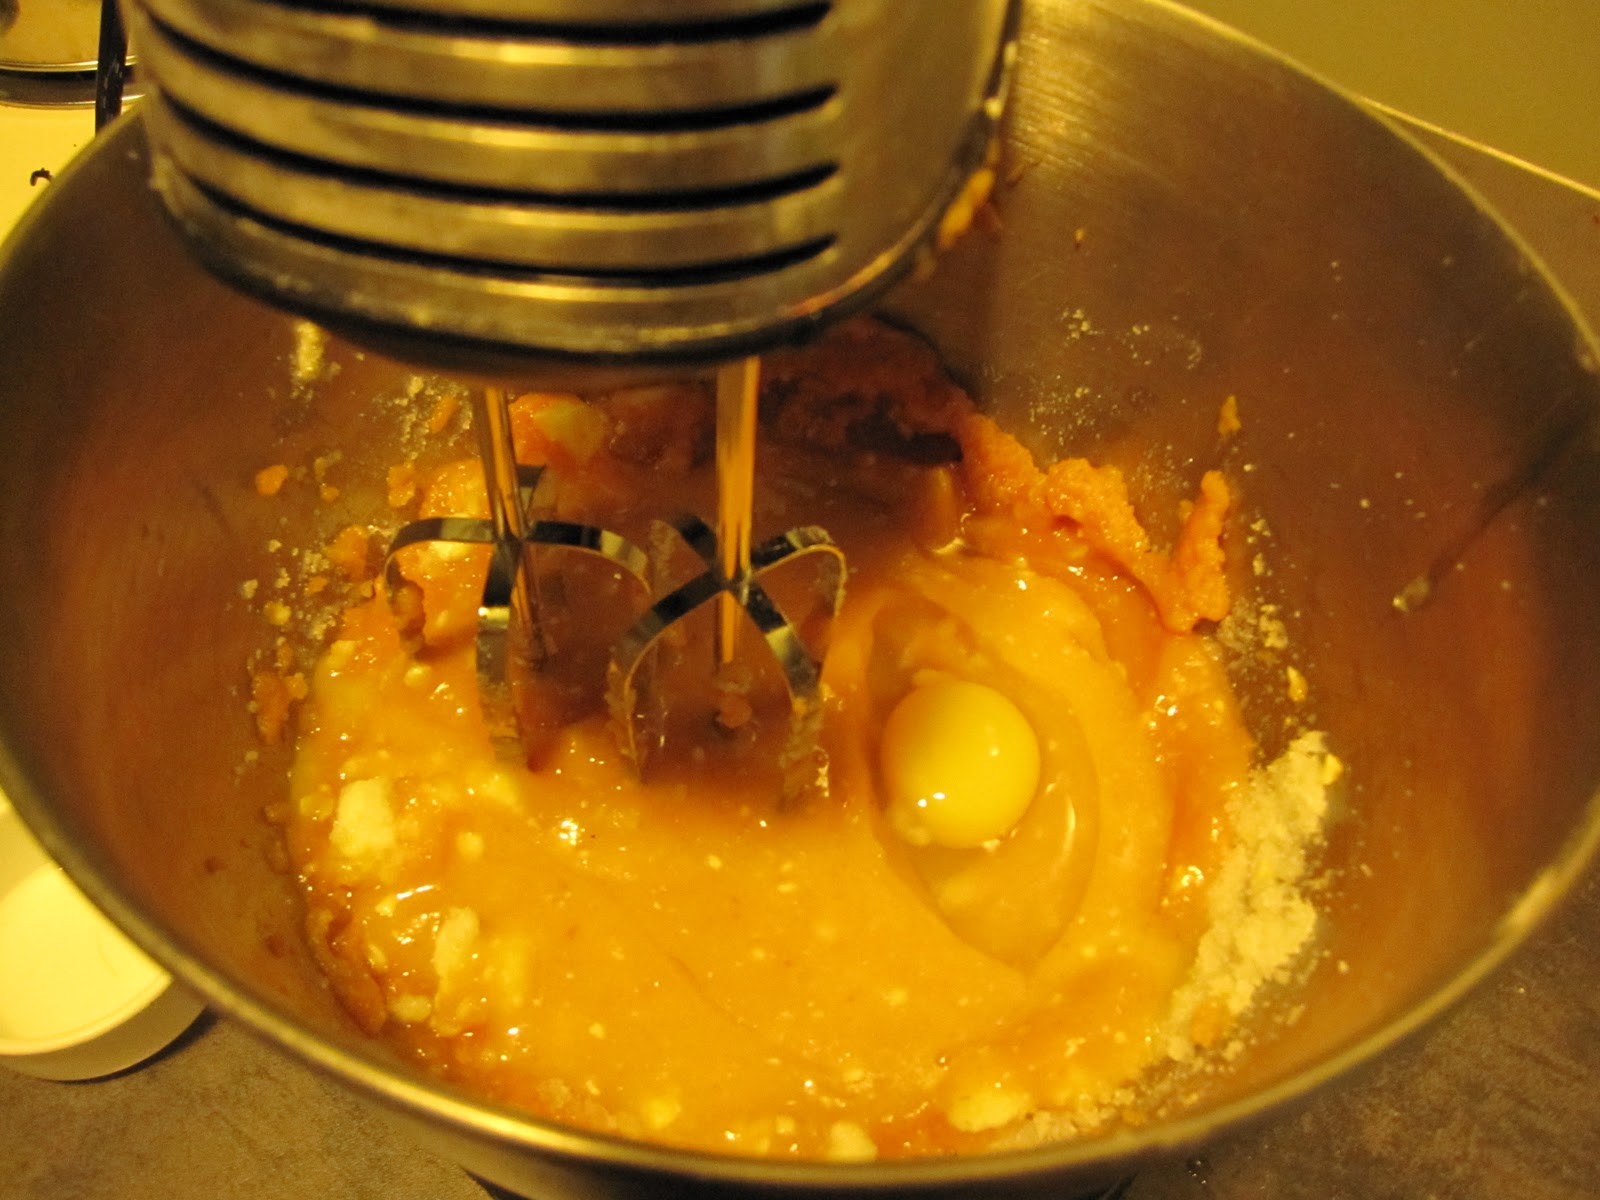
Then you mix the mostly cooked vegetables with a little goat cheese, some bread crumbs, and some spices.  The recipe called for sage, but I didn't have any.  I used a rosemary chicken rub instead, and it was a good match.  Throw in a little salt and pepper.
You are supposed to use a piece of lean ham to wrap up the roulade, but I misread the label on the product I picked up at Whole Foods and ended up with some form of bacon instead.  Luckily, it only had 50 calories a slice, so I was still able to make do.
Now you are ready to roll up the roulades.  Start by laying down the bacon/ham, then topping it with a piece of pounded chicken.

Then you add on the squash/potato filling, and roll it up.  Firmly secure with toothpicks.  Don't forget where you put them!
Bake the roulades in the oven until the chicken is cooked.  Don't leave them in there too long...the chicken will easily overcook because it is so thin.  You could probably use a meat thermometer, but I just cut one open to see if the meat was still pink.
Make sure you pull out the toothpicks before serving.  The meat will hold itself together after cooking, so they won't be needed.

I served it with some Asian style stir fry veggies and a little quinoa.  That was mostly due to lack of planning for a side dish.  I was so focused on making the entree that I didn't put any thought into what to go with it.  Something seasonal would probably go well with this, like some Brussels Sprouts.
Sounds like I did it wrong, what with the vegetable side dish mis-match and all.  Guess I'll have to make it again!

Thursday, November 10, 2011

Nanny's Apple Cider

My grandmother is a great cook.  Several of my favorite recipes are also family favorites from her kitchen.  Now that the cold weather is upon us, it's time for one of her classic recipes:  Apple Cider.  This is a really simple recipe.  It smells delicious, tastes delicious, and is downright...delicious.

My grandmother says that she believes this cider recipe was posted in the Cleveland Plain Dealer years ago.  She moved here from Cleveland over 30 years ago, so trust me when I tell you that this recipe has stood the test of time.
Did you notice the remnants of my cool Halloween manicure in that picture?  The apple cider was made for our Halloween party, and like the pumpkin bread, is unfortunately long gone.
In case you can't read the image from the picture above, here are the ingredients:

Nanny's Apple Cider
 
1 gallon Apple Cider
1 stick of Cinnamon
2 teaspoons Whole Allspice
1 teaspoon Cardamom Seeds
1/2 teaspoon Nutmeg
3 Orange Slices, each studded with 5 Whole Cloves

You can go two ways with the other spices.  One way is to dump them all in the cider and then strain it before serving.  I think that's a little too time and labor intensive, so I usually make a 'homemade tea bag' with a paper towel and float it in the cider.  One day I will get really fancy and buy a tea ball...

After the spices have been added, the cider should simmer for 30 minutes with the orange slices floating on the top. I'm rather fond of spearing the orange slice with the sticks of whole cinnamon.  I think it looks pretty when you float them in the apple cider.

My mom recommends preparing the cider a day in advance because she thinks its better after its been reheated.  So, if you've got the time, you should definitely do it that way.  If not?  Still delicious.

Wednesday, November 9, 2011

Pumpkin Bread

Do you like fall?  What about all the tasty foods that come along with the changing of the seasons?

I set out to make some pumpkin bread recently and am amazed at the delicious recipe I found.  Even more remarkable is that this recipe is designed to be used for a Pumpkin Bread Pudding (with Spicy Caramel Apple Sauce, no less).  I suppose if you are going to make a bread pudding, you should make sure that the bread is extra delicious!

Disclaimer:  My pumpkin bread didn't last long enough to become bread pudding, so you'll have to try that one yourself, if you've got enough willpower.  Or, enough pumpkin to make a few loaves.
The ingredients in the recipe are simple enough:
Fairly standard, yes?  Notice that the pumpkin is just standard pumpkin, not the kind that's ready to be poured into a pie.  I have an astonishing number of spices on my spice rack, so I'm always thankful to use them in a recipe.

First you mix up the wet ingredients with a stand mixer:
And the dry ones in a separate bowl.  I know this is simple, but I totally got it wrong the other day ;)
Then you mix the dry ingredients into the wet ones until you have delicious pumpkin bread batter ready to pop into the oven.

I enjoyed this recipe so much that after I sampled it, I immediately made a second loaf.  We shared this at our halloween party, and I am thinking it will make another appearance at Thanksgiving.  Yum yum!!