Tuesday, September 23, 2014

World's Best Chocolate Chip Cookies

Sometimes I like to google "World's Best" and then insert the name of whatever recipe I happen to be on the hunt for.  I've been fairly successful with it.  One of the best successes was when I googled "World's Best Chocolate Chip Cookies."  O.M.G. did I ever find the quintessential recipe!!  I made these for my boyfriend's birthday, which is why an average chocolate chip cookie just would not do.  It had to be special for my special guy.

The recipe I found was published in the New York Times, and was adapted from a Jacques Torres recipe.  I also googled Jacques Torres, of course.  He is a master pastry chef known as Mr. Chocolate.  Well, that certainly explains a lot about why this recipe is so delicious!

The recipe itself is fairly straightforward.  You cream together butter and sugar (lots of sugar!), then mix in flour and chocolate chips.  10 oz. of light brown sugar!  Plus white sugar after this!

 Here is a picture of the ingredients I assembled for this project:
And here is the recipe.

World's Best Chocolate Chip Cookies

2 cups minus 2 tablespoons
(8 1/2 ounces) cake flour
1 2/3 cups (8 1/2 ounces) bread flour
1 1/4 teaspoons baking soda
1 1/2 teaspoons baking powder
1 1/2 teaspoons coarse salt
2 1/2 sticks (1 1/4 cups) unsalted butter
1 1/4 cups (10 ounces) light brown sugar
1 cup plus 2 tablespoons (8 ounces) granulated sugar
2 large eggs
2 teaspoons natural vanilla extract
1 1/4 pounds bittersweet chocolate disks or fèves, at least 60 percent cacao content (see note)
Sea salt.

Directions:
1. Sift flours, baking soda, baking powder and salt into a bowl. Set aside.
2. Using a mixer fitted with paddle attachment, cream butter and sugars together until very light, about 5 minutes. Add eggs, one at a time, mixing well after each addition. Stir in the vanilla. Reduce speed to low, add dry ingredients and mix until just combined, 5 to 10 seconds. Drop chocolate pieces in and incorporate them without breaking them. Press plastic wrap against dough and refrigerate for 24 to 36 hours. Dough may be used in batches, and can be refrigerated for up to 72 hours.
3. When ready to bake, preheat oven to 350 degrees. Line a baking sheet with parchment paper or a nonstick baking mat. Set aside.
4. Scoop 6 3 1/2-ounce mounds of dough (the size of generous golf balls) onto baking sheet, making sure to turn horizontally any chocolate pieces that are poking up; it will make for a more attractive cookie. Sprinkle lightly with sea salt and bake until golden brown but still soft, 18 to 20 minutes. Transfer sheet to a wire rack for 10 minutes, then slip cookies onto another rack to cool a bit more. Repeat with remaining dough, or reserve dough, refrigerated, for baking remaining batches the next day. Eat warm, with a big napkin.
Yield: 1 1/2 dozen 5-inch cookies.

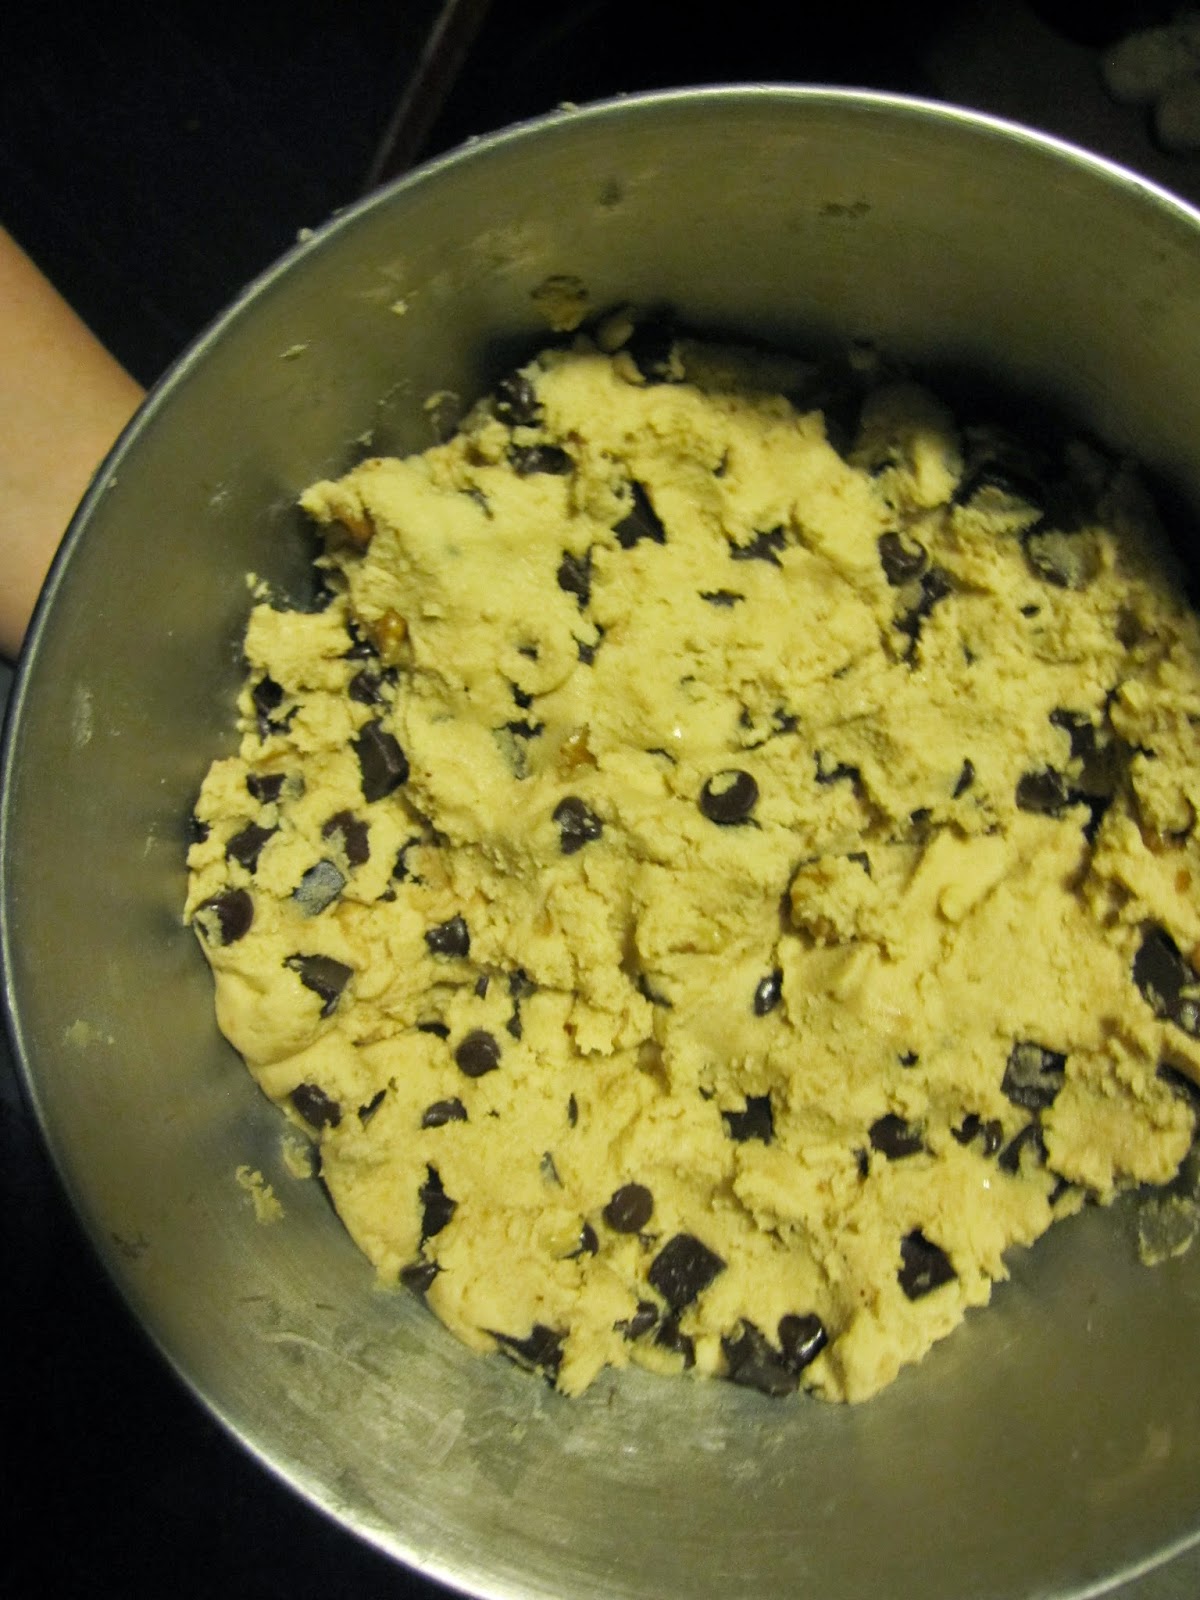
Take a look at that delicious yummy goodness!!!  I upped the ante on my batch by adding some walnuts to the cookies because that's the way my boyfriend likes them, but you could leave out the nuts or add whatever kind you wanted.
 Here's a look at my other batch, without nuts, after it's been all mixed up.  I ran out of the one kind of chocolate chips and had to add another kind, so you might notice that there is more then one shape of chocolate in my dough!
The chocolate chips I used were Ghirardelli Chocolate Premium Baking Chips 60% Cacao Bittersweet Chocolate.  Click here to buy through my Amazon affiliate link, or you can get them at Krogers.
My advice?  You should really listen to the recipe when it says to refrigerate the dough for at least 24 hours.  For some reason it makes a huge difference.

If you're interested in science and the reason these cookies are the world's best, then you should read the study put together by Serious Eats Food Lab.  They did a lengthy inquest to determine what aspects of cookies lend themselves to what qualities.  You can find that article here.

The end result of this recipe is a large, delicious cookie with the right balance of delicious chocolate and salt.  They are fabulous hot out of the oven, or at room temperature.  And they are even better if you dip them in milk.  yum yum! Let me know if you give this recipe a try!

Saturday, September 20, 2014

Cooking Classes at The Learning Kitchen

What should I do with my life?  I've been working on answering this question for a while, although I don't know that I'll ever fully answer it.  One of the first things I decided to do was to explore cooking a little more.  I do have a food blog, after all.  What if culinary school is where my path should lead?  How do I know if I enjoy receiving formal instruction in cooking?

I haven't had formal instruction in cooking since my days in the after school program at North Avondale Montessori.  I still remember how to wipe the cupcake pan after you fill it with batter, but before baking, so you have an easier time cleaning the pan when you are done!

There are a lot of local options for cooking classes, but the place that appealed to my taste buds the most was The Learning Kitchen in West Chester.  I chose them because of the following criteria:

-Each student gets their own cook top (hands on!)
-They offered a knife skills class (my area of most interest)
-Wide variety of options for other classes
-Fit my schedule
-Reasonable price (~$65+ typically, but they were running a Facebook special when I found them, so I think I paid something around $55 or so)

I took 3 classes:

Hone Your Knife Skills
Beef: Season, Sear, Saute
Stuffed and Filled

Here is a picture of me cheese-ing it up before class.  They provide you with an apron to wear, which is excellent as I was coming straight from work.


Of the 3 classes I took, Hone Your Knife Skills was by and far my favorite.  It was taught by one of the owners, Jennifer Vogel, who shared a story about how she found herself in culinary school after realizing that she was quite skilled at chopping vegetables.  In this class, they allowed us to try a number of different knife brands and sizes (20% discount if you buy on the day of your class!), and showed us how to properly hold and care for nice knives.  We then learned how to chop, dice, julienne, etc as we each prepared our own panzanilla bread salad.


I had a really good time at the first class and have really been enjoying showing my boyfriend how well I can chop onions ever since!  So I signed up for another class.  Beef!  I really love beef (and pork, let's be real here)!  We made New York Strip with Maple Mustard Glaze and Bourbon Sauce, Pan-Roasted Flat Iron Steak with Chevre Chive Sauce, and Creole Sliders with Pineapple Pepper Sauce.  This one was taught by one of the chef's that also teaches in the culinary program at Cincinnati State!  She also does some private chef work on the side, and I'd seen an instructional video that she made for how to spatchcock and roast a whole chicken.

At the Beef class I was delighted to discover that The Learning Kitchen sells wine by the glass/bottle.  Apparently they offer wine at all of the classes where the focus isn't on knife skills (for obvious reasons!!).  I had some nice red wine while we were cooking, and then with my meal as well.

This was a pretty big meal, and the license The Learning Kitchen has doesn't allow for you to take home your leftovers, so come hungry (or stash a super secret sandwich bag in your purse)!


The third class I took was called Stuffed and Filled.  We made Cheese and Sweet Pepper Stuffed Poblano Peppers, Pork Tenderloin with Prosciutto and Gouda, and Lemon Thyme Goat Cheese in Puff Pastry.  The instructor also made us a little dessert with the leftover Puff Pastry, by filling it with some Sweetened Mascarpone!

*I had a little trouble with my Poblano, so it wasn't quite stuffed and filled, but more like a platform for conveying a delicious blend of cheese and sweet pepper.  Hey, nobody's perfect!


What a delicious meal!  I thoroughly enjoyed learning to cook using the techniques taught in each of these classes.

Are these classes right for you?
The classes are very novice friendly, and they teach a lot of techniques that you can use for all kinds of kitchen tasks. As a more advanced cook, the class moved somewhat slowly at times, but I was happy to fill the gaps with a sip or two of wine as less experienced classmates got caught up.  There was a good mix of people like me who wanted to learn more cooking skills in general, people that had been gifted a class by a friend/relative, and people that were doing it as a fun activity to enjoy together.

The Learning Kitchen offers several date night classes where couples can prepare a meal together, which I think would make for an excellent date (sushi! Indian, shrimp and filet! homemade ravioli!), especially since they have wine. 

If you want to join me, the next class I want to take is The Five Master Skills, which are: using salt, heat management, simple sauces, tools, and proper ingredients.  Who's coming with?

So, what should I do with my life?  Cooking classes are fun.  I might even be interested in teaching them, and I'd certainly be willing to take a couple more.  What I learned from this experience is that I don't necessarily want to go to culinary school. 

*The opinions contained within this blog post are my own, I was not paid for this post.  I think The Learning Kitchen has offered some sort of discount if you share about them on your blog or rate them of Facebook etc, but I can't recall the details.